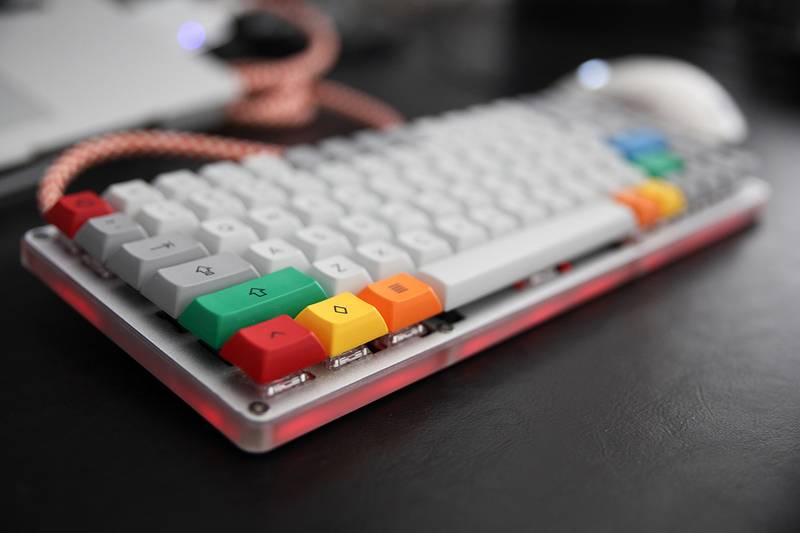
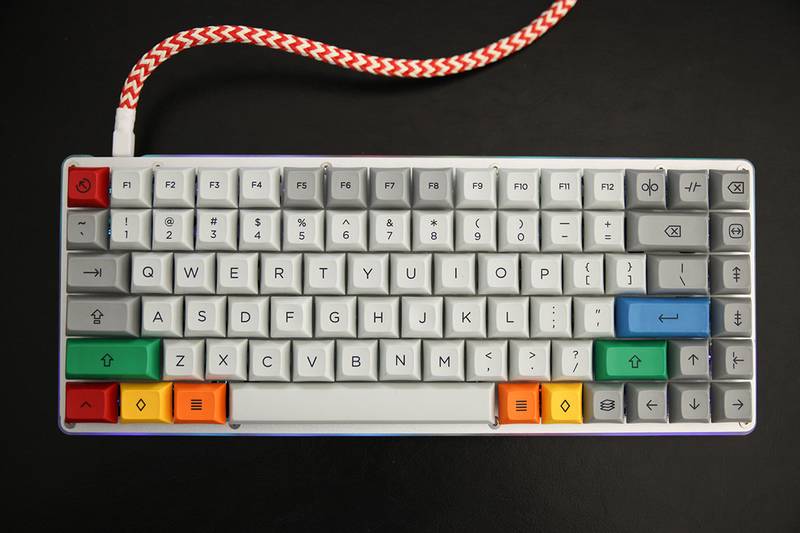
Custom mechanical keyboard build: PS2AVR
November 15, 2016
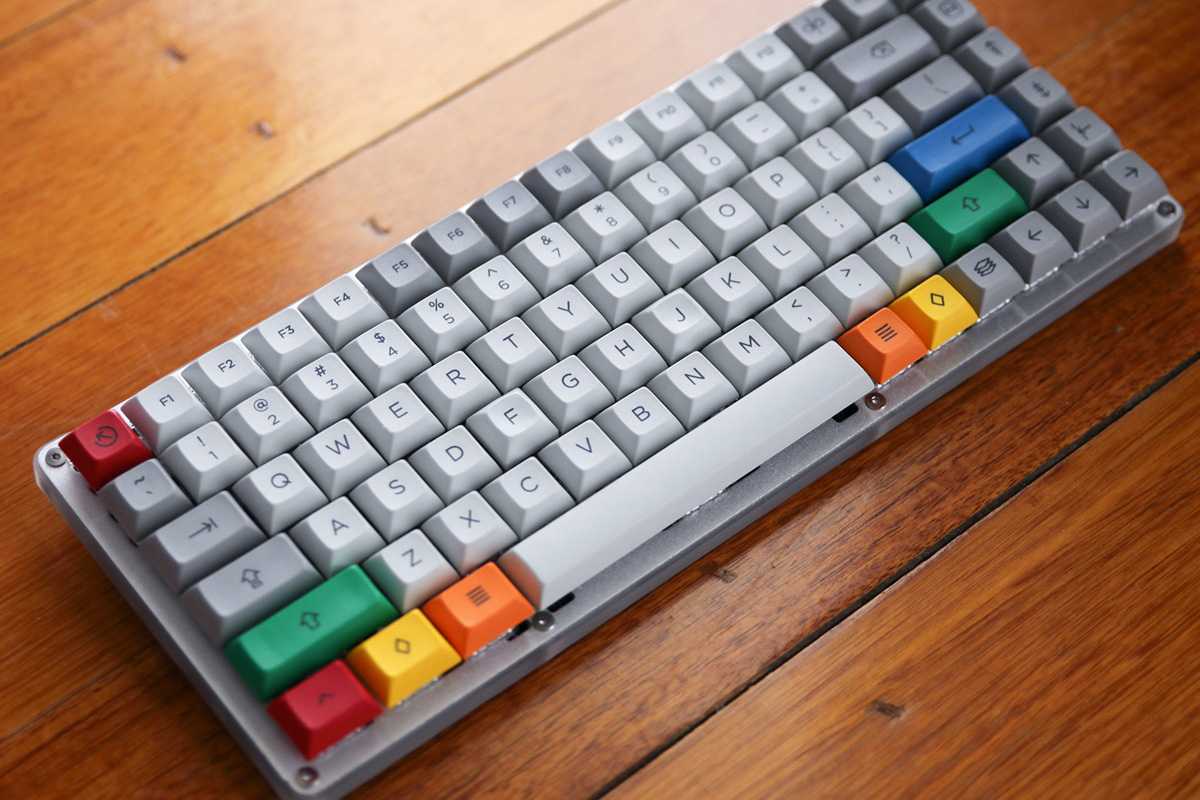
Final shot of the board with full Granite set, icon RGBYO mods etc.
Background
This was my first build from a kit, ordered the PS2AVR during a group buy off of keyclack.com. Being the first time I was a little tentative about the GB process but keyclack ran it perfectly.
There were updates every step of the way and /u/jchan94 was easy to reach and talk to at any time.
Build Log
You can find out more about the PS2AVR here: https://www.keyclack.com/product/sandwich-kb/
Components
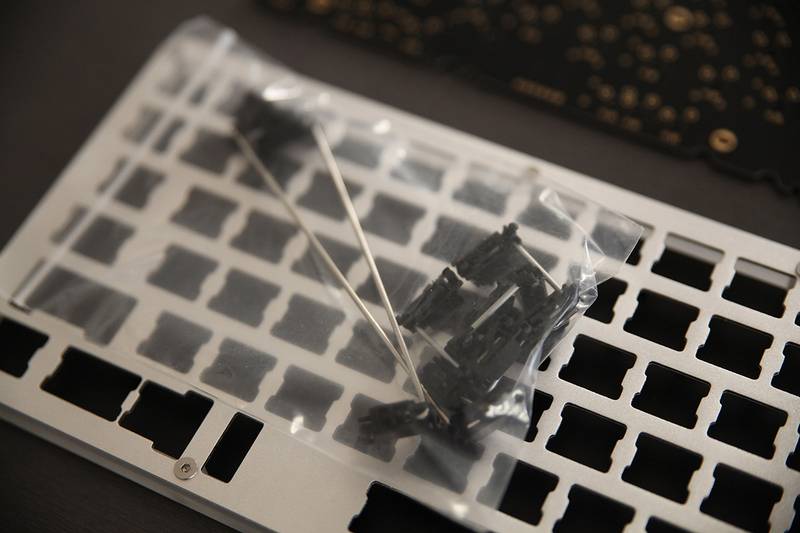
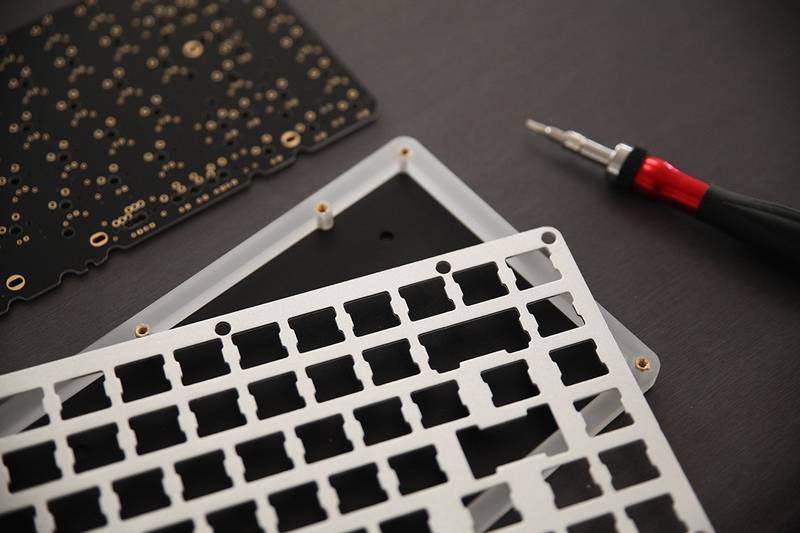
Below you can see the stabilizers that came with the kit, plus the plate, pcb etc.
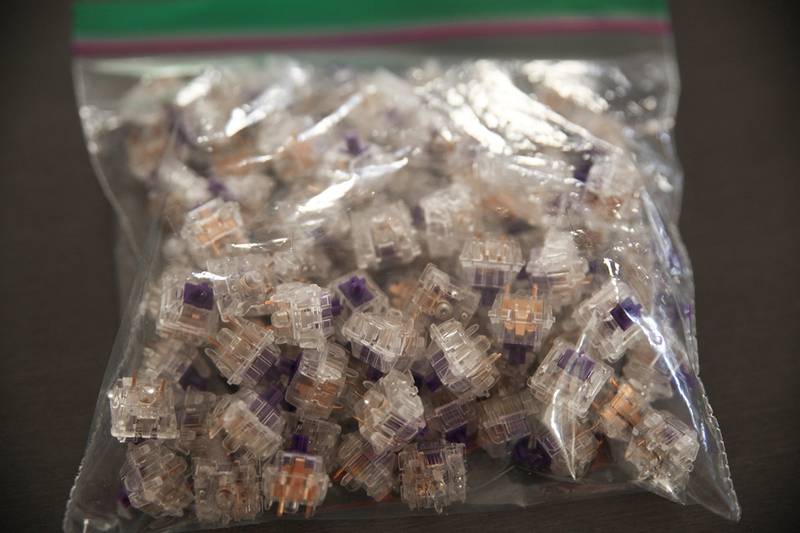
For this build, I ordered some 65g Zealios off the latest R4 group buy off of http://zealpc.net/
The 'sandwich' case consists of plate, acrylic mid layer and a base layer.
Keyset chosen for this board was DSA Granite from http://pimpmykeyboard.com/
I've always been a big fan of this set and had to snap it up as soon as it became available again.
Step 1
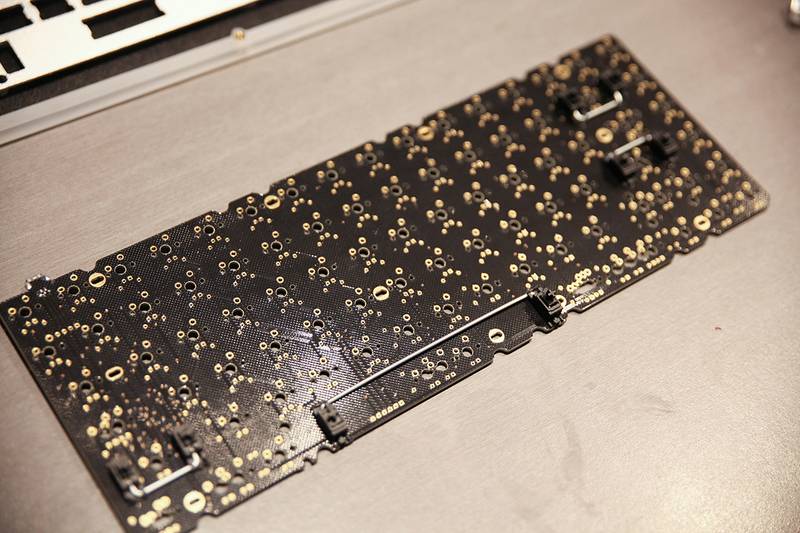
PCB with stabilizers mounted. I followed /u/quakemz build guide here: http://imgur.com/a/hzd7r
Step 2
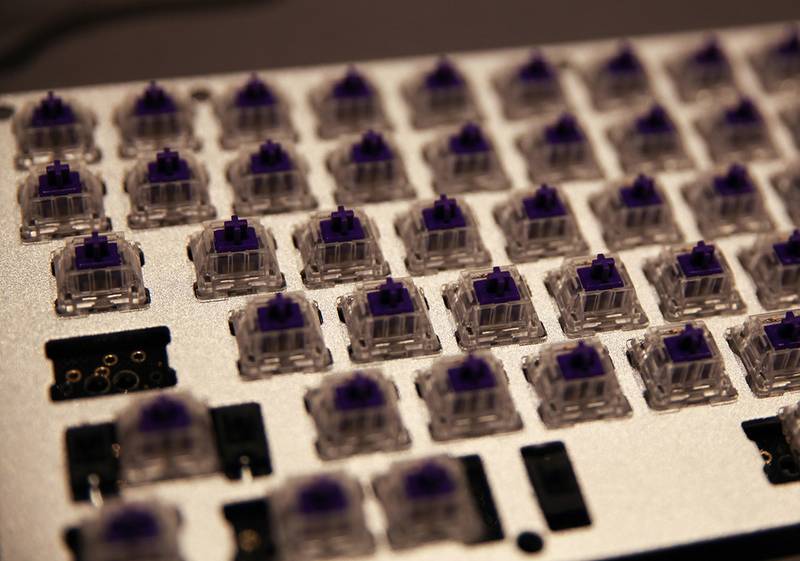
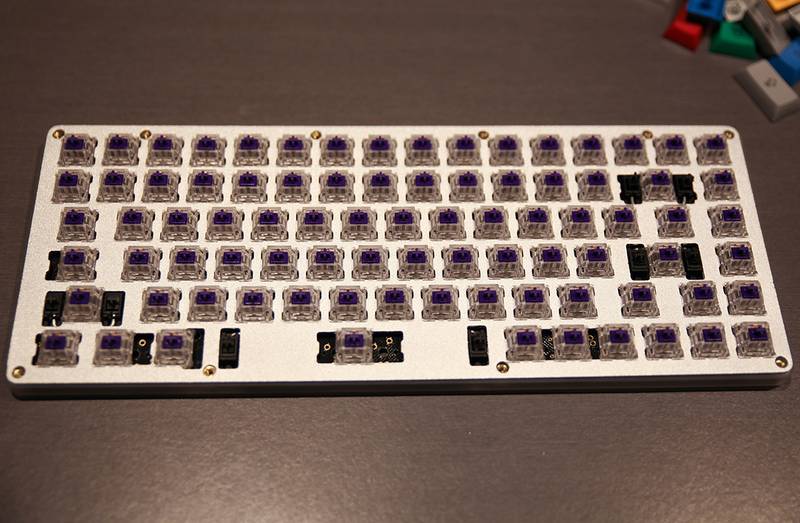
After mounting the stabs the next step was the slow (and cathartic) process of soldering the switches in.
Here's how it looked once they were all in.
Step 3
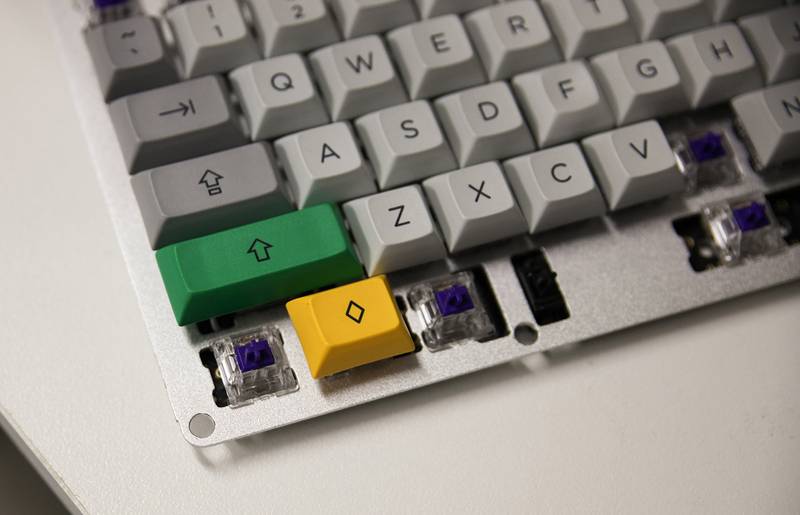
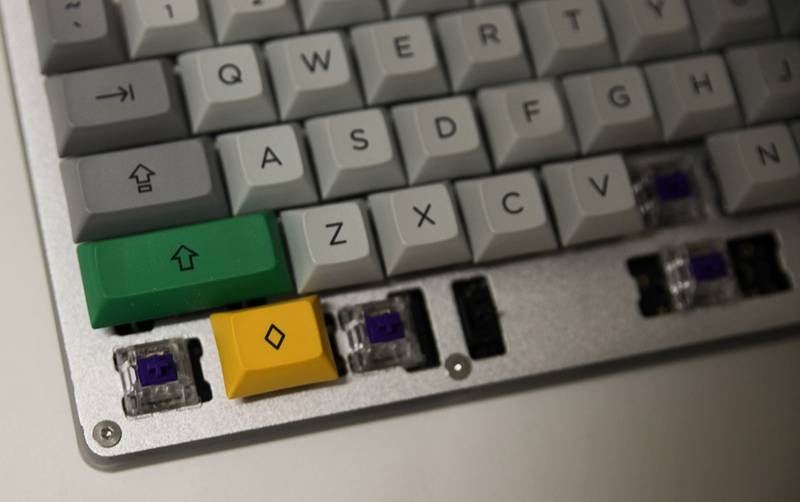
The next step was to add the custom keycaps that I had ordered, but... Uh-oh! Can you see where I made a pretty bad beginner mistake? Check out the bottom left switch... something ain't right there.
So basically I soldered it in too far right, it needed to sit far left position. So, this also became my first ever de-soldering job too :(
Wrong:
Right:
Ahh, that's better. Now everything can continue...
Finished Result
Connected up. Cable is from a Mass Drop group buy, it looks great but is super temperamental with the USB-A connection.
Switched to red underglow to match the cable, sticking with this for now. Coming from Cherry MX Clears the Zeals have been really great to type on, if a tad light.
Next time I'll try the heavier Zealios.
